The Tap Guide
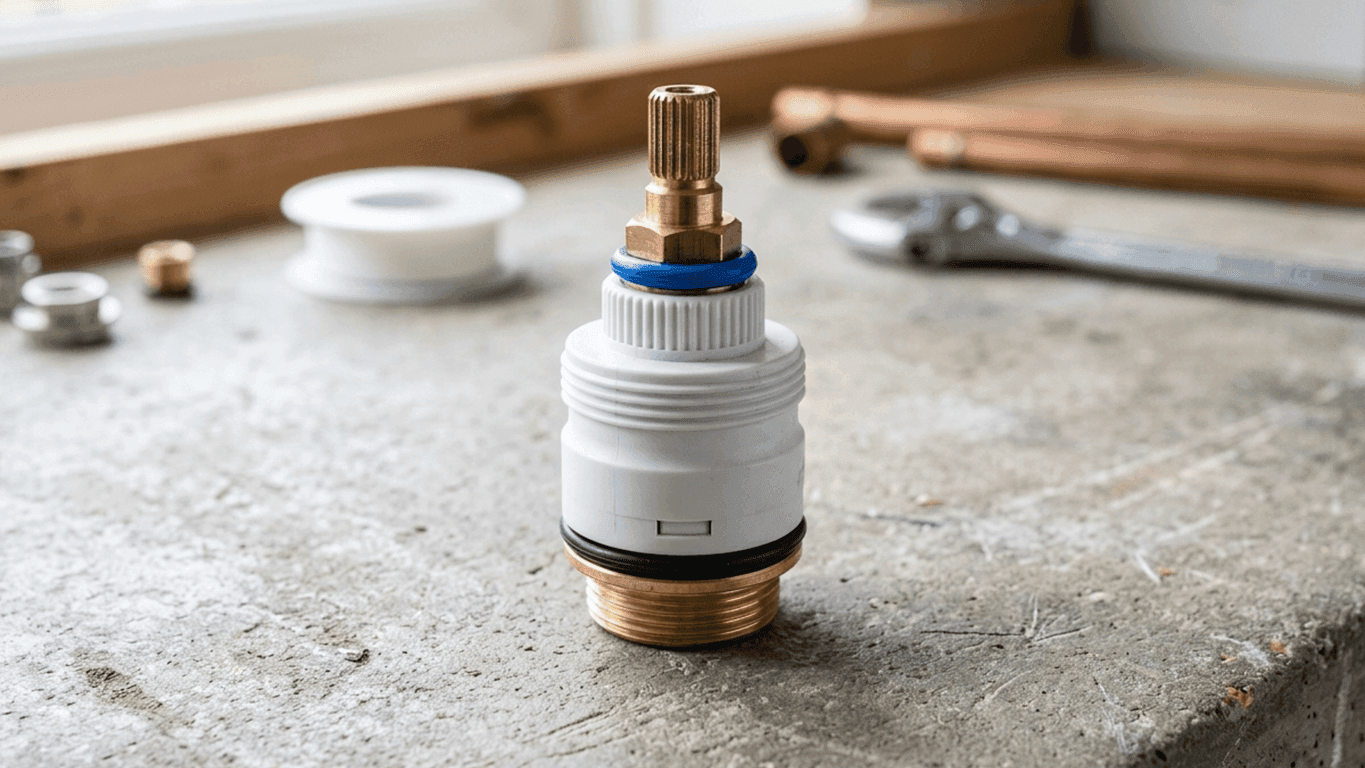
Behind almost every single lever tap is a ceramic disc cartridge, and it's usually the first part to wear out, long before there's anything actually wrong with the tap body itself. A worn one tends to show up as resistance that wasn't there before, a handle that won't quite settle where you leave it, or hot and cold no longer landing where they used to. Replacing it is a genuinely approachable DIY job, and this guide walks through how it's done.
This goes a step further than fixing a dripping tap, which covers the quick version of a cartridge swap for a straightforward drip. Here we go into more depth on finding the right replacement, dealing with a stuck cartridge, and the mistakes that cause the most call-backs.
Signs you need a new cartridge, not just a clean
A drip from the outlet is the most obvious symptom, but a cartridge on its way out often shows itself in other ways first: a handle that's become stiff or gritty to move, a lever that no longer stays where you leave it, or hot and cold blending differently than they used to even though nothing else has changed. Cleaning off limescale sometimes buys a cartridge more life, but once the internal seals themselves have worn, cleaning stops making a difference and replacement is the only real fix.
Finding the right replacement cartridge
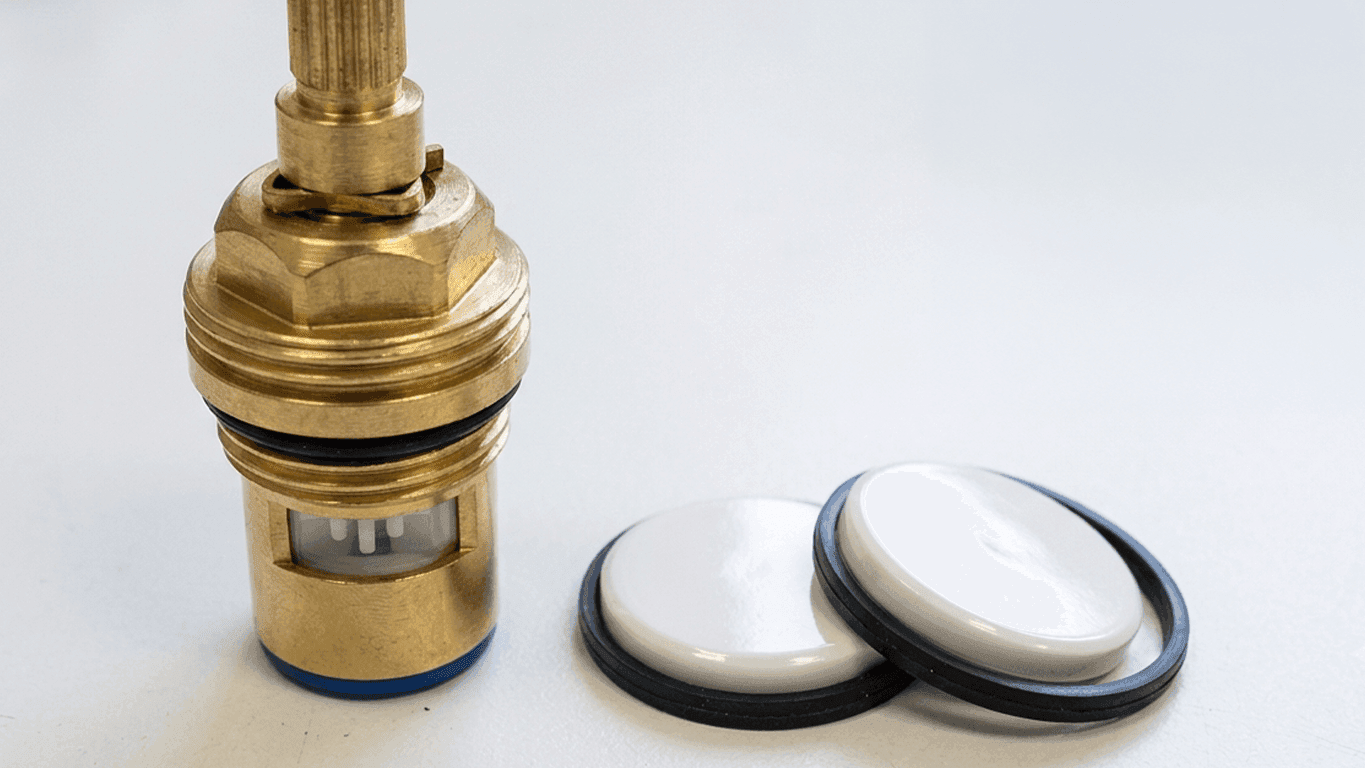
Cartridges are specific to the tap's brand and often to a particular model range, so the safest approach is to remove the old one and take it to a plumbers' merchant or check the manufacturer's website for an exact match, rather than guessing from the tap's appearance alone. A handful of manufacturers, including Grohe and Hansgrohe, keep spares available for a long time after a model is discontinued, which is worth checking before assuming your only option is a full new tap.
Universal or generic cartridges exist and can work, but fit and seal quality vary a lot between suppliers, so they're best treated as a last resort rather than a first choice if a genuine manufacturer part is available.
Tools you'll need
- Adjustable spanner, and a set of Allen keys for the retaining screw on some handles
- Flathead screwdriver, for prising off the decorative cap that hides the handle screw
- A cloth to protect the tap finish from spanner marks
- Your replacement cartridge, matched exactly to the old one
A decent adjustable spanner worth a look
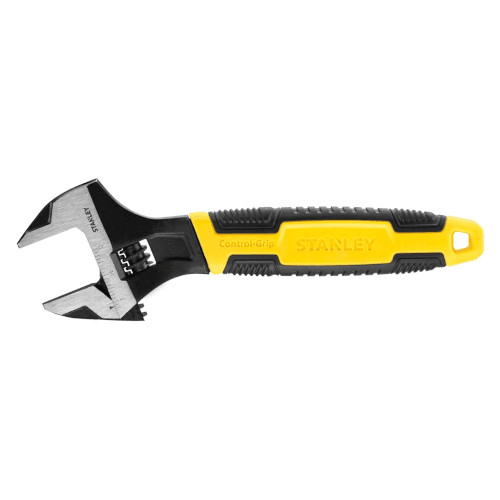
Stanley 8in Adjustable Wrench
£7.99 (correct as of October 2026)
An 8-inch adjustable wrench from Stanley with a chrome vanadium forged body and a knurled screw for one-handed jaw adjustment.
We like
- Chrome vanadium steel body with a phosphate and polished chrome finish, more corrosion resistant than a basic steel wrench
- Knurled adjustment screw makes it easy to fine-tune the jaw width with one hand
- Marked with both metric and imperial (SAE) scales, useful if you're not sure which your tap's fittings are sized in
Worth checking
- Fixed 8-inch length, so it won't reach into the tight, awkward gaps under a sink the way a basin wrench can
- Jaw capacity
- 8 inches (200mm)
- Length
- 200mm
- Material
- Chrome vanadium (alloy) steel
- Finish
- Phosphate coated, polished chrome
- Weight
- 0.3kg
- Measurement markings
- Metric and imperial (SAE)
Specifications above listed by Amazon and may change. Check the current listing before buying. If we've got something wrong, let us know and we'll fix it.
Step by step
- Turn off the isolation valves for that tap, or the main stopcock if none are fitted, then open the tap to release pressure and let any remaining water drain.
- Prise off the decorative cap on top of the handle (it usually just clips or unscrews) to reveal a single retaining screw, then remove the screw and lift the handle away.
- Unscrew the retaining nut or collar underneath, using an adjustable spanner and a cloth to protect the finish.
- Lift the old cartridge straight out, noting exactly how it's orientated before you do, since fitting the replacement the wrong way round is one of the most common mistakes in this job.
- Fit the new cartridge in the same orientation, replace the retaining nut, and reassemble the handle in reverse order.
- Turn the water back on slowly, run the tap on both hot and cold, and check underneath for any leaks around the retaining nut.
Note
Most cartridges have a small flat edge, tab or alignment mark that only fits one way. If your tap's hot and cold seem swapped after reassembly, the cartridge has almost certainly gone back in rotated from where it should be.
Common mistakes worth avoiding
- Fitting the cartridge in the wrong orientation. This is the single most common mistake, and usually shows up as reversed hot and cold or a handle that no longer sits central when the tap is off.
- Overtightening the retaining nut. Cartridge housings are often plastic under the metal collar, and overtightening can crack it. Firm and snug, checked by hand, is enough.
- Forcing a stuck cartridge. One that's seized in place, usually from limescale, is more easily freed by soaking it in a limescale remover or white vinegar for an hour first than by levering it out with a screwdriver.
- Buying a generic cartridge without checking the spline count and diameter. Even cartridges that look identical can have a different number of splines on the stem, which means the handle won't seat correctly even though the cartridge itself fits.
When it's not worth replacing the cartridge
If the tap itself is old enough that the manufacturer no longer stocks a cartridge for it, or the tap body shows signs of corrosion or cracking beyond the cartridge housing, it's usually more sensible to replace the whole tap rather than chase down an obsolete or generic part. Our guide on installing a tap yourself covers fitting the replacement, or browse our top 10 kitchen taps for a shortlist.