The Tap Guide
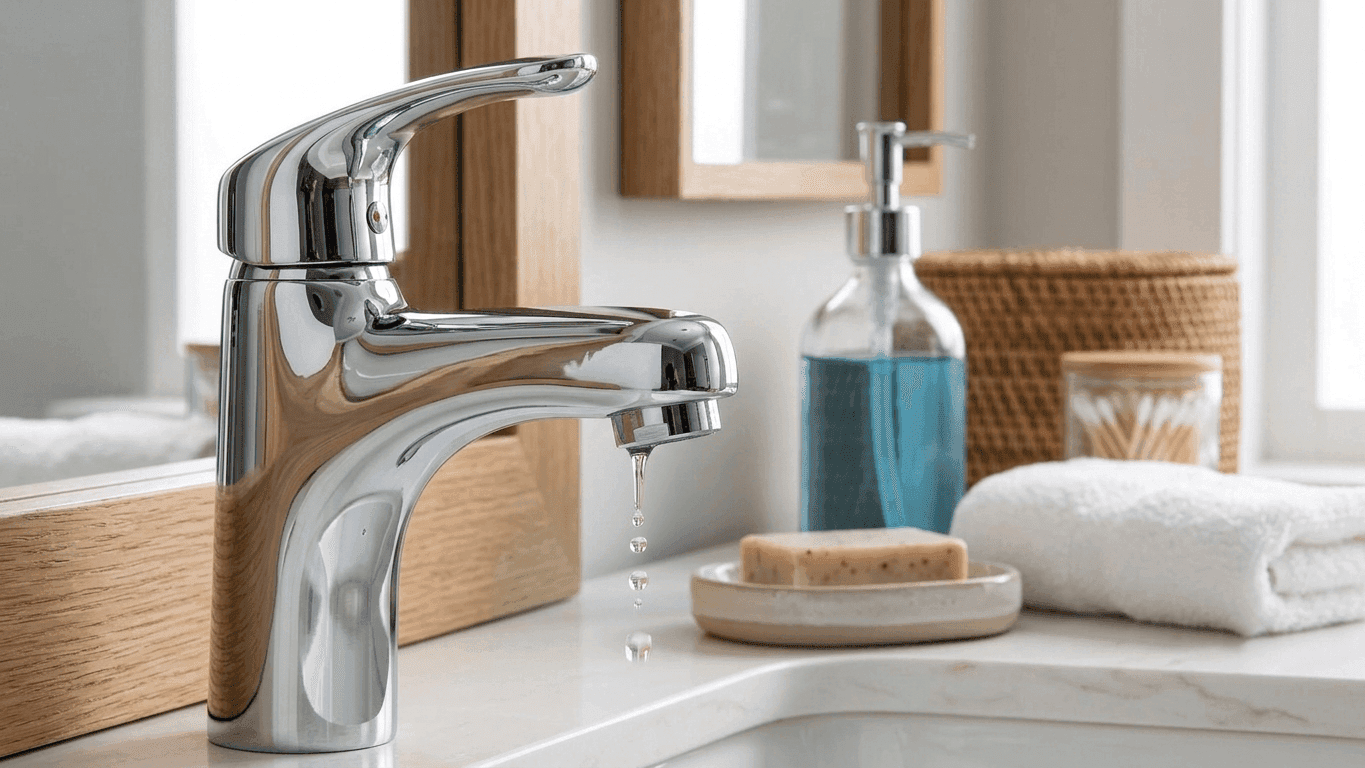
A dripping tap is usually a small, cheap fix rather than a sign anything serious is wrong, but left alone it wastes a surprising amount of water and can eventually stain your sink or bath with limescale. This guide covers diagnosing which type of tap you've got and the quick version of both fixes; if you already know you've got a traditional washer tap, our full guide on replacing a tap washer goes into more detail on tools, sizing and dealing with a seized headgear.
Almost every dripping tap comes down to one of two mechanisms wearing out, a rubber washer or a ceramic disc cartridge, and knowing which one you've got before you start saves you buying the wrong part or taking apart the wrong thing. It's usually obvious once you know what to look for.
Why taps drip
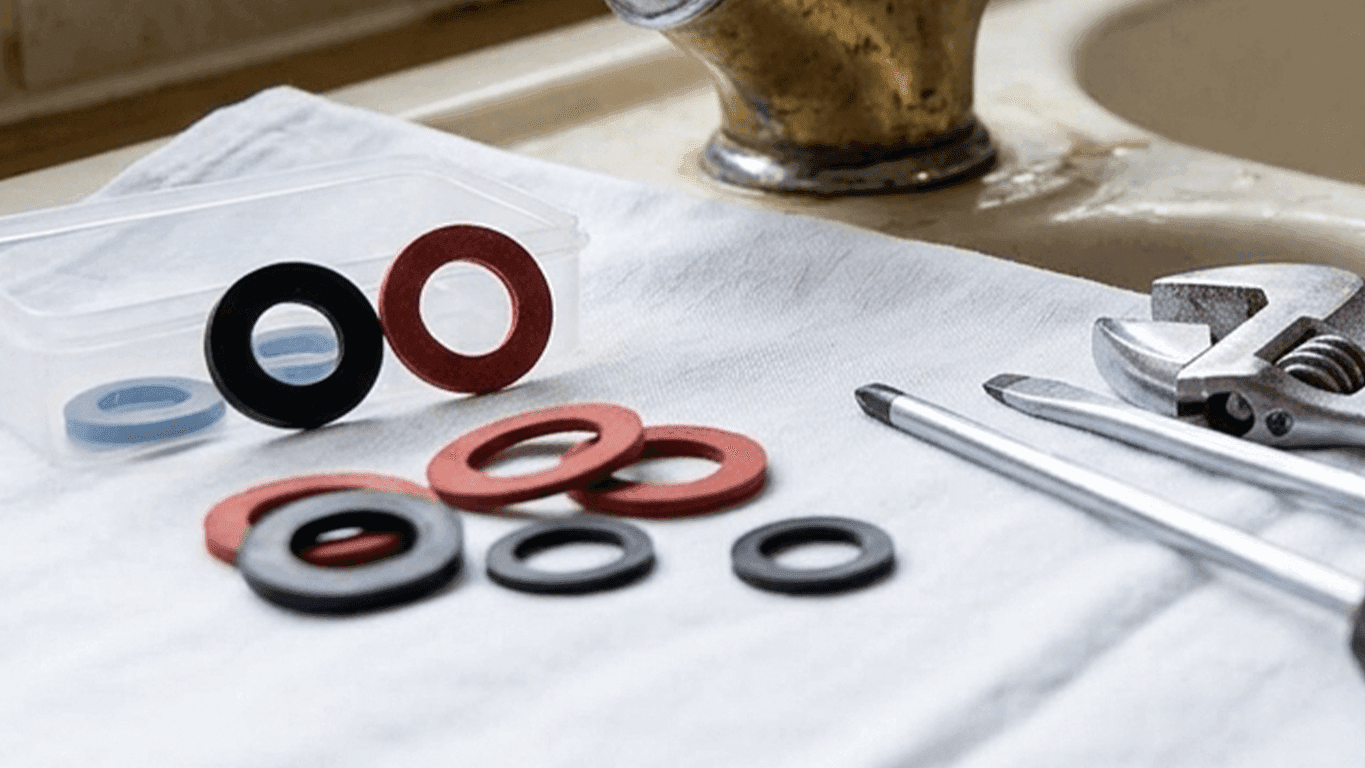
Almost every drip comes down to a worn seal somewhere inside the tap. In older, traditional taps, this is usually a rubber or fibre washer that's hardened or perished with age.
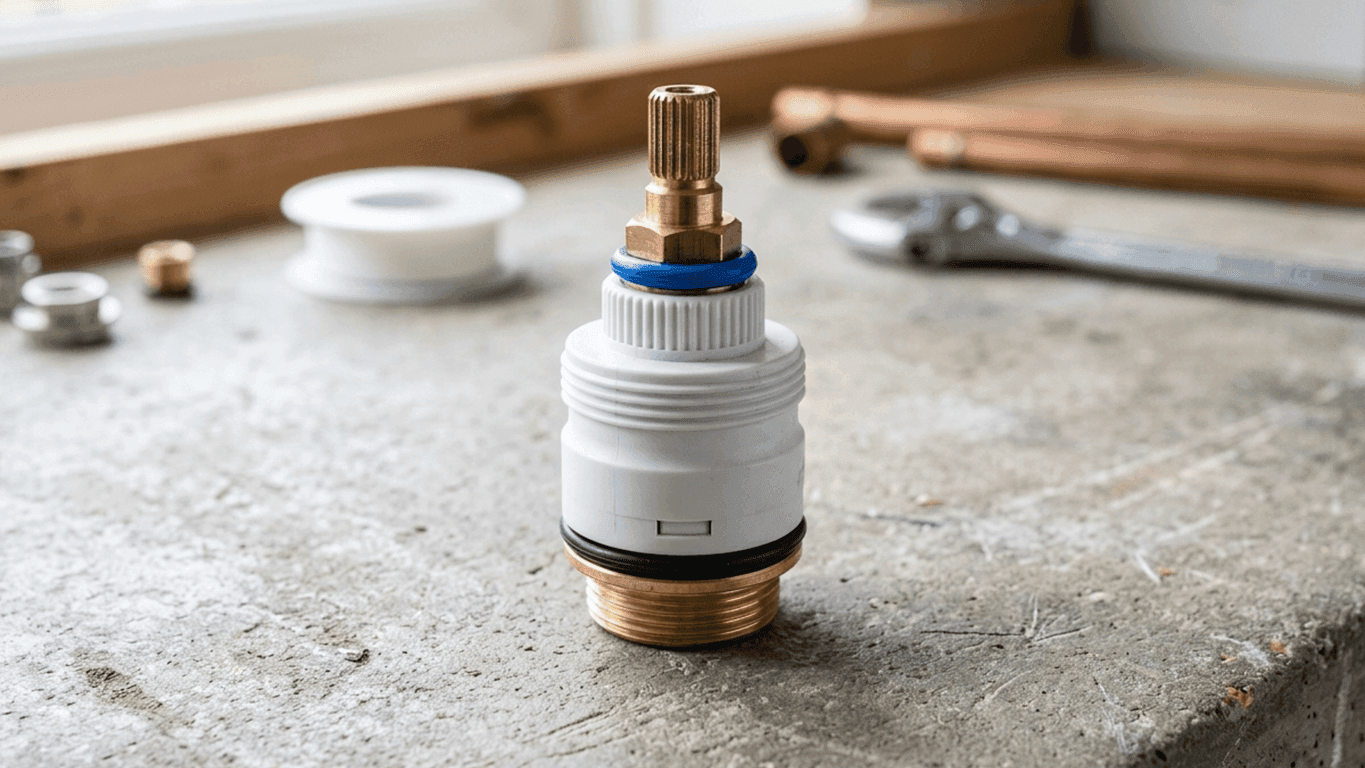
In newer taps with a single lever handle, it's more often a ceramic disc cartridge that's picked up limescale or a tiny bit of grit, stopping it from sealing perfectly. Either way, the fix is the same principle: replace the worn part.
Tools you'll need
- Adjustable spanner
- Flathead and crosshead screwdrivers
- A replacement washer or cartridge that matches your tap (take the old one to a plumbers' merchant if you're not sure)
- A cloth to protect the tap finish from spanner marks
An adjustable spanner worth a look
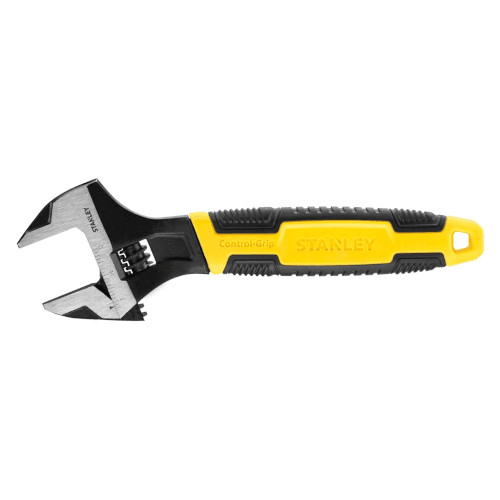
Stanley 8in Adjustable Wrench
£7.99 (correct as of October 2026)
An 8-inch adjustable wrench from Stanley with a chrome vanadium forged body and a knurled screw for one-handed jaw adjustment.
We like
- Chrome vanadium steel body with a phosphate and polished chrome finish, more corrosion resistant than a basic steel wrench
- Knurled adjustment screw makes it easy to fine-tune the jaw width with one hand
- Marked with both metric and imperial (SAE) scales, useful if you're not sure which your tap's fittings are sized in
Worth checking
- Fixed 8-inch length, so it won't reach into the tight, awkward gaps under a sink the way a basin wrench can
- Jaw capacity
- 8 inches (200mm)
- Length
- 200mm
- Material
- Chrome vanadium (alloy) steel
- Finish
- Phosphate coated, polished chrome
- Weight
- 0.3kg
- Measurement markings
- Metric and imperial (SAE)
Specifications above listed by Amazon and may change. Check the current listing before buying. If we've got something wrong, let us know and we'll fix it.
First, work out which type of tap you have
If your tap has separate hot and cold handles that you turn, and it's an older style, it likely uses a traditional washer. A single lever that moves smoothly with barely any resistance and controls both flow and temperature almost certainly means a ceramic disc cartridge inside instead. This matters because the two fixes are different.
Fixing a traditional washer tap
The short version: isolate the water and let the tap drain, remove the handle, unscrew the headgear the handle sits on, and swap the washer at its base for an exact size match, then reassemble and test.
The part that actually trips people up is a seized headgear rather than the washer itself. Our full guide on replacing a tap washer covers the right tools, getting the washer size right, and freeing a stuck headgear without damaging the tap.
Fixing a ceramic disc tap
Ceramic disc cartridges rarely wear out in the way washers do, but they can develop a drip if limescale or debris gets between the discs, stopping them sealing fully. If you're not sure whether you're actually dealing with one, our guide on what a ceramic disc tap is explains how the mechanism works and how to spot it.
The short version: isolate the water, remove the handle, lift out the cartridge, then clean it gently if the drip is minor or replace it whole if cleaning doesn't help, since cartridges are precision made and not really designed to be repaired once worn. Cartridges are specific to the tap's brand and model, so our full guide on replacing a tap cartridge covers sourcing the exact match and the full step-by-step swap.
Fixing a leaking spout (O-ring)
A leak from around the base of the spout, particularly when you swivel it, is a different problem to a drip from the outlet, and it's almost always down to a worn O-ring rather than the washer or cartridge above. Water appearing there, especially only when the spout is turned from side to side, points squarely at the O-ring.
- Turn off the isolation valves for that tap, or the main stopcock if none are fitted, then open the tap to release pressure.
- Some taps need the handle and cartridge removed first to free the spout; others allow the spout to simply lift or twist off the tap body. Check whether yours is held by a small grub screw at the base before pulling.
- Lift the spout straight up and off the tap body, working it gently side to side if it's stiff rather than forcing it.
- You'll usually find one or two O-rings seated in grooves around the base of the spout's spigot. Roll the old ones off, noting how many there are and their thickness, then clean the groove of any old grease or debris.
- Lightly grease the new O-ring with food-safe silicone grease, seat it in the groove, and push the spout back onto the tap body.
- Reassemble anything else you removed, turn the water back on, and check the base for leaks with the spout both stationary and turned.
Take the old O-ring with you when buying a replacement rather than guessing the size, since O-rings are sold by internal diameter and thickness and even a slightly wrong size won't seal properly.
When it's not any of the above
A drip that persists straight after a full washer, cartridge or O-ring replacement can occasionally point to limescale build up further inside the tap body itself, which sometimes needs a full descale rather than another part swap.
Fixing a dripping or leaking outdoor tap
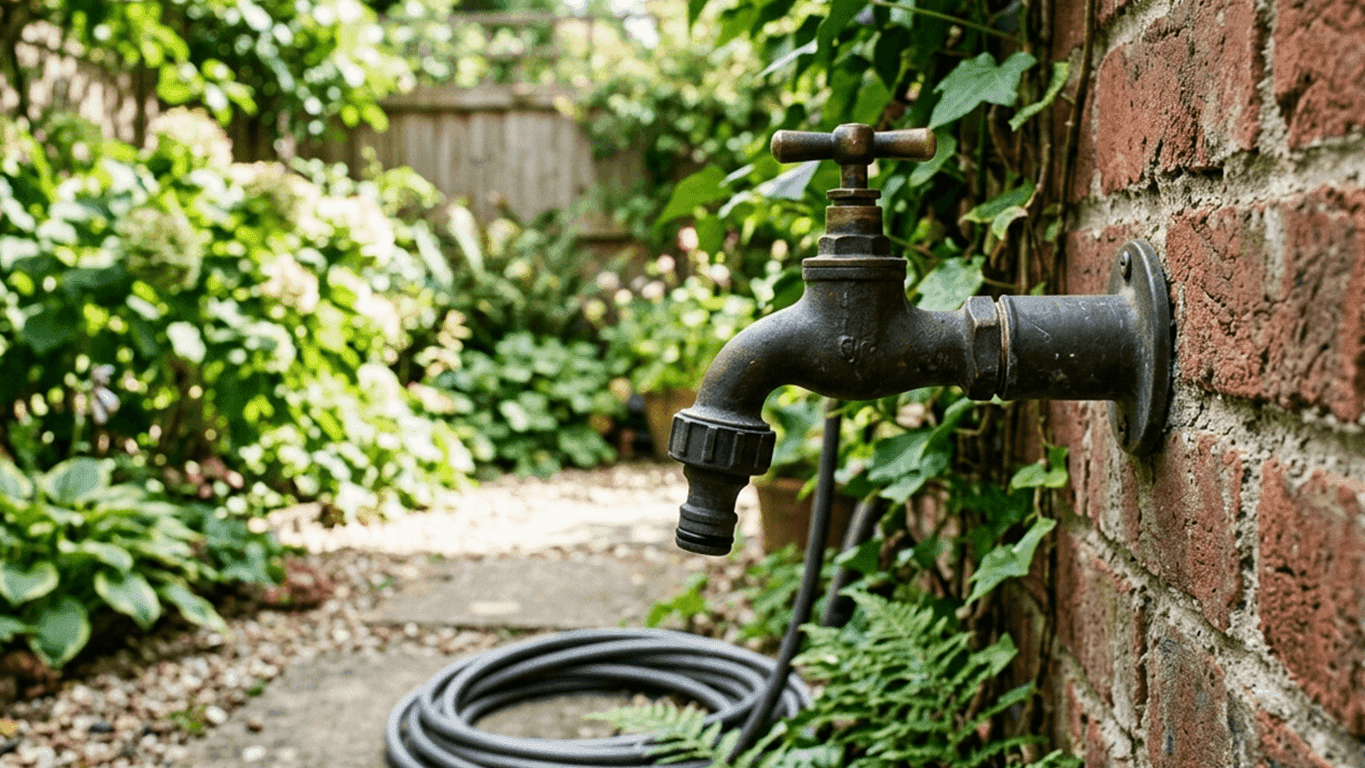
Most outside taps are traditional bib taps with a washer inside, so a steady drip from the spout is fixed exactly as described in the washer section above. Outdoor taps commonly take a 1/2 inch washer, or 3/4 inch on larger taps. Turn the water off at the isolation valve on the outdoor tap's supply pipe indoors, usually under the kitchen sink or wherever the pipe leaves the house, rather than at the tap itself.
Outdoor taps also leak in three places an indoor tap rarely does, and each has its own fix.
Leaking round the handle
Water seeping out from under the handle while the tap is running usually comes from the gland, the seal around the spindle just below the handle. Start by tightening the gland nut, the small nut directly under the handle, by a quarter turn clockwise. That's often enough to stop the weep.
If it still leaks, turn the water off, undo the gland nut and wrap a few turns of PTFE tape or gland packing string around the spindle before tightening the nut back down. Newer outdoor taps seal the spindle with an O-ring instead, which can be swapped in the same way as the spout O-ring above.
Leaking at the hose connector
Spraying where the hose clips on is almost always the connector rather than the tap. Snap-on hose connectors and the threaded adaptor that screws onto the tap both rely on a small rubber washer or O-ring, which perishes in sunlight and frost. Replacing that washer, or the adaptor itself, costs a couple of pounds and fixes most leaks. Check the adaptor is screwed fully onto the tap thread too, since a part-tightened adaptor will spray the moment the hose is pressurised.
Leaking at the wall plate
Water dribbling from behind the wall plate, or down the wall beneath it, means the joint between the tap and the wall plate fitting has worked loose. With the water off, unscrew the tap from the wall plate, wrap fresh PTFE tape around the tap's thread, and screw it back in until it's tight with the spout pointing straight down.
If the water is coming from the pipe behind the plate, or you notice a damp patch on the inside wall where the pipe passes through, the leak is in the pipework rather than the tap. That's a job for a plumber, since water running inside a cavity wall can cause damp long before it shows outside.
Spotting frost damage
A leak that started after a cold snap is often frost damage rather than wear. Look for a hairline split along the tap body or the exposed pipe, a tap body that looks slightly swollen, or water that only appears once the tap is turned on and the pipe is under pressure. A cracked tap body can't be repaired and needs replacing, while a split pipe needs a plumber. Our guide on protecting outdoor taps from freezing covers how to stop it happening again, and if yours is past saving, our top 10 outdoor taps includes frost-resistant replacements.
When to call a plumber
If the drip is coming from a joint rather than the tap mechanism itself, if you can't locate or safely operate your isolation valve, or if the tap is old enough that replacement parts are no longer available, it may be more sensible to replace the tap entirely rather than keep patching it. See our guide on how to install a tap yourself if you decide to go that route, browse our top 10 kitchen taps for a shortlist of replacements, or search WaterSafe for an approved plumber near you.