The Tap Guide
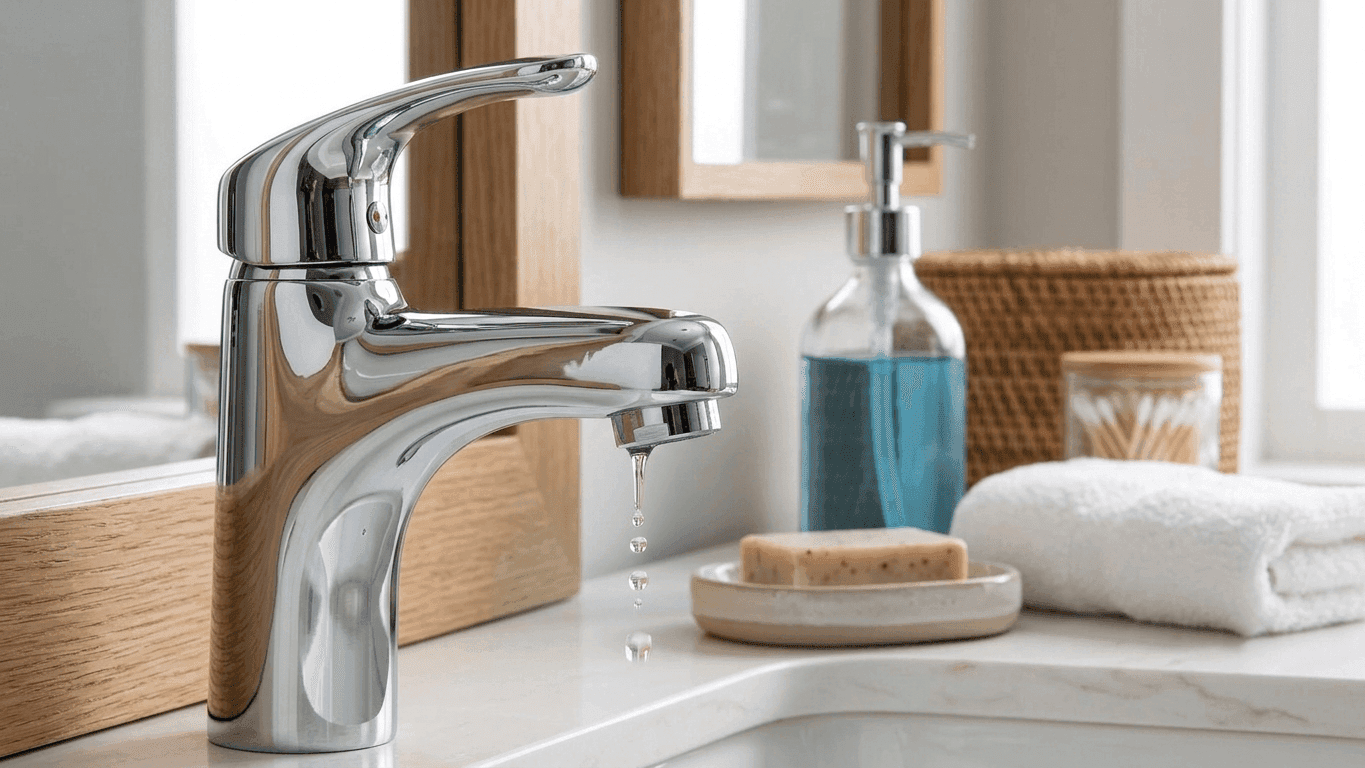
A dripping traditional tap almost always comes down to one small, inexpensive part: the washer. Replacing it is one of the more approachable repair jobs in the house, and this guide walks through exactly how it's done, tools and all, so you can sort it in an afternoon rather than living with a drip for months.
It's also one of the cheapest repairs you'll ever do on a tap. A replacement washer costs next to nothing, and you almost certainly won't need anything beyond a basic set of spanners and an adjustable wrench already sitting in a typical toolbox.
How to tell if your tap actually has a washer
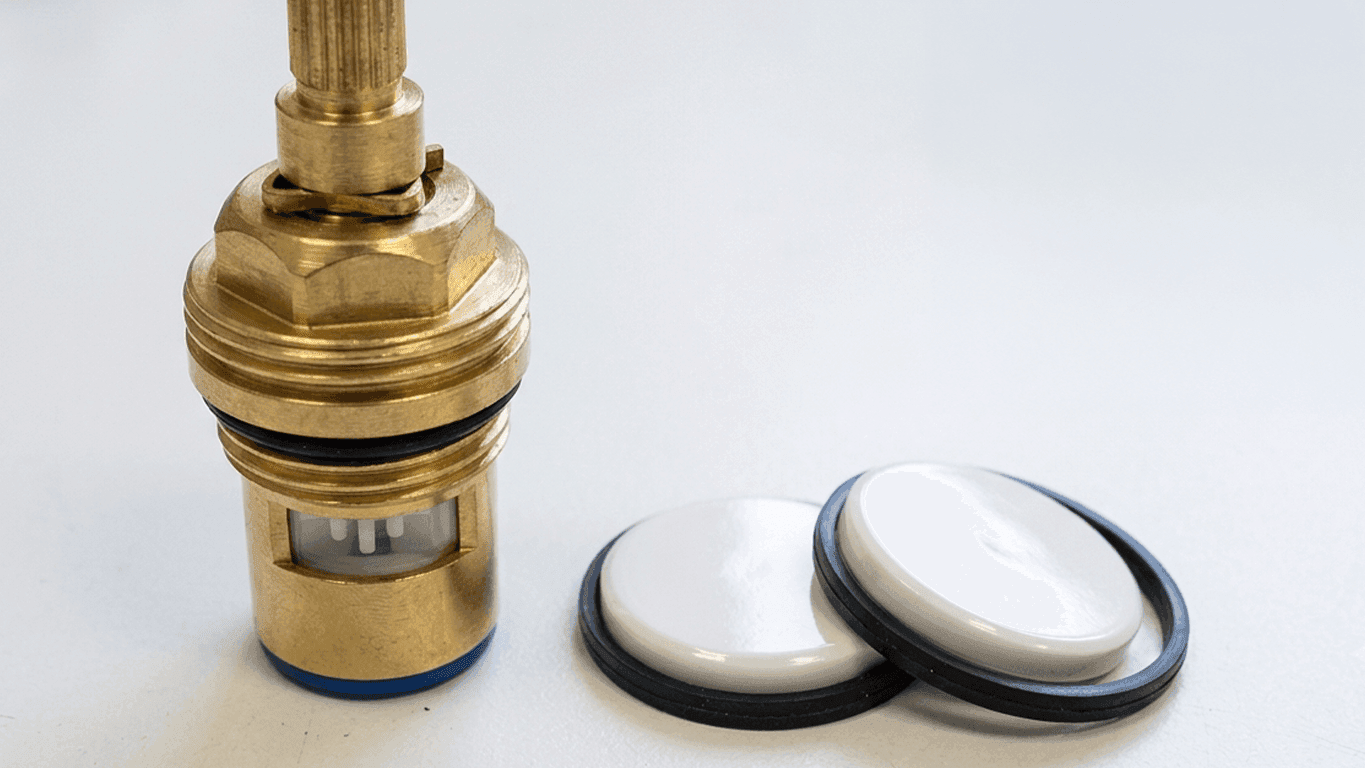
Traditional taps with separate hot and cold handles that take a full turn or more to fully open are the ones that use a washer, a small rubber or fibre disc that seals against the valve seat to stop water flowing once the tap's closed. If your tap has a single lever that moves smoothly with barely any resistance, it almost certainly uses a ceramic disc cartridge instead, and the fix is different. Our guide on what a ceramic disc tap is explains that mechanism and how to spot one.
Washers wear out because they're compressed against the valve seat every single time the tap closes, and over years of use the rubber hardens, perishes, or takes on the shape of the seat imperfectly. That's exactly what causes the slow, persistent drip from the spout that sends most people looking for this guide in the first place.
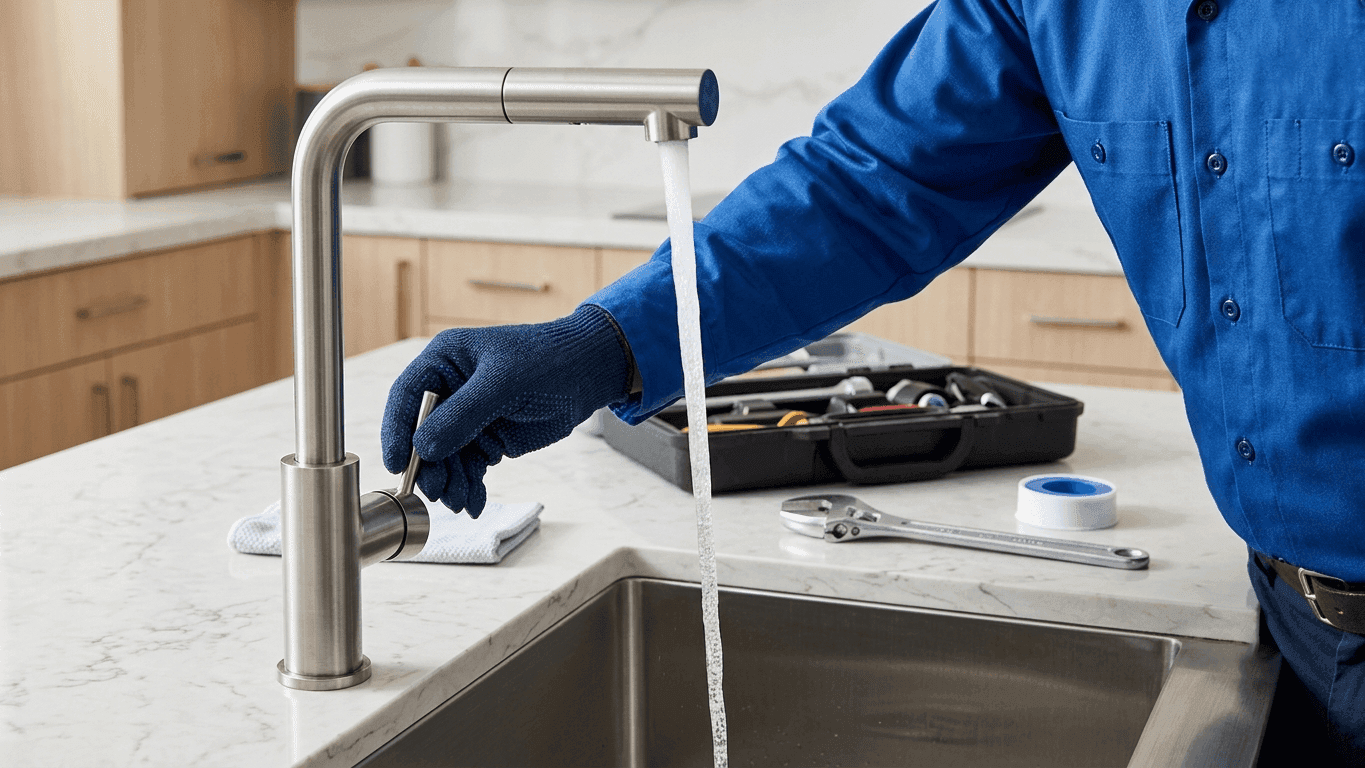
Tools and parts you'll need
- Adjustable spanner, and ideally a second one to hold the tap body steady while you work
- Flathead and crosshead screwdrivers, since handle fixings vary between taps
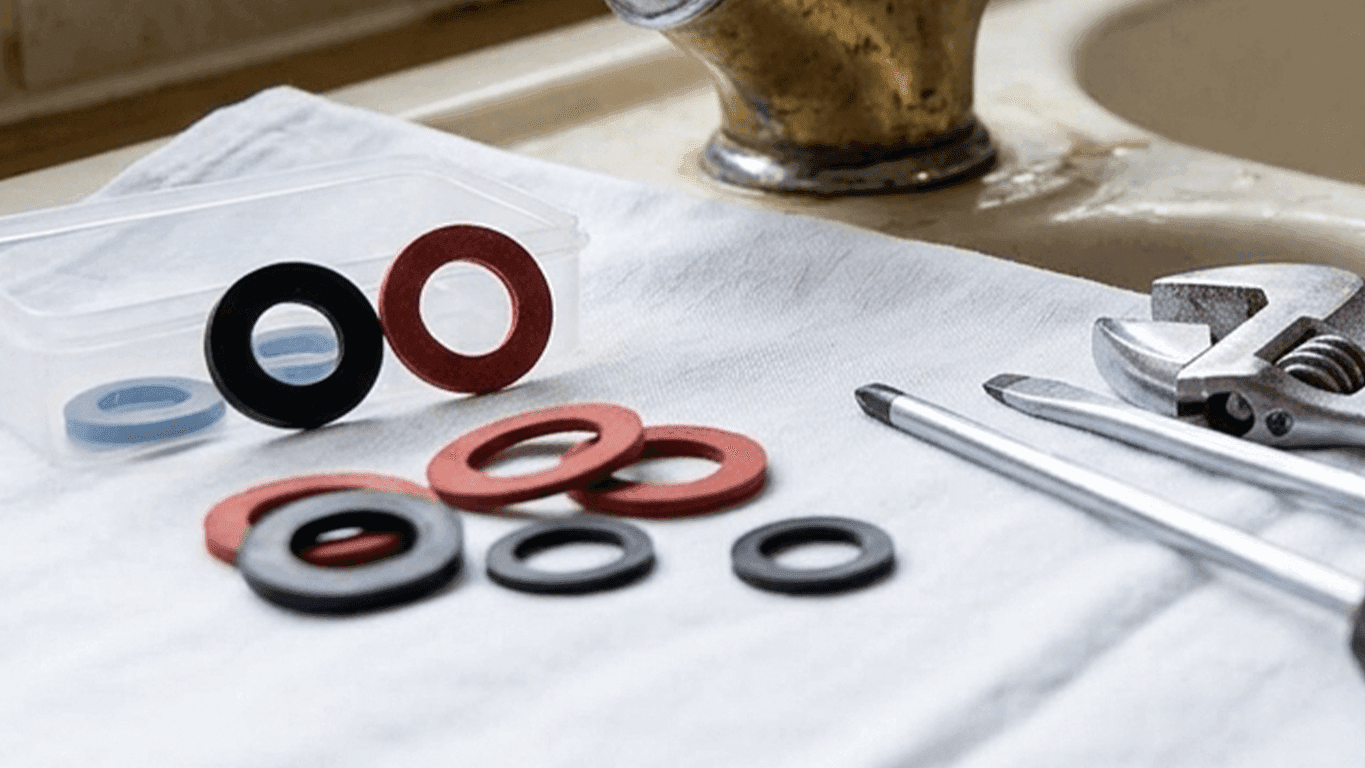
- A replacement washer that matches your tap, or an assorted pack covering the common sizes
- A cloth to protect the tap's finish from spanner marks
- A small dish or magnetic tray to keep track of screws as you go
- Releasing fluid such as WD-40 or Plus Gas, in case the headgear has seized
Step 1: turn off the water and release pressure
Find the isolation valve for that specific tap, usually a small quarter-turn valve on the pipe just below the sink or basin, and turn it off. If there isn't one fitted, you'll need to use the main stopcock instead, which cuts water to the whole house while you work.
Once off, open the tap fully so any remaining water drains out and the pressure in the pipe releases before you start taking anything apart.
Step 2: remove the handle
Most handles are held by a small grub screw hidden underneath a decorative cap on top, marked hot or cold, though some older taps use a single visible screw instead. Prise the cap off gently with a flathead screwdriver, undo the screw underneath, and the handle should lift straight off.
Step 3: undo the headgear
Underneath the handle you'll find the headgear, the part the handle was attached to, which unscrews using an adjustable spanner. Wrap a cloth around it first to protect the finish from scratches, and hold the tap body steady with a second spanner if it wants to twist rather than the headgear turning on its own.
Step 4: replace the washer
At the base of the headgear you'll see the washer, held in place by a small retaining nut, or occasionally just pushed onto a pin. Remove the old washer, take note of its exact size, and fit an identical replacement, since even a slightly wrong size won't seal properly.
While it's apart, give the valve seat a quick wipe to clear any grit or limescale sitting on it, since debris there can stop even a brand new washer sealing fully.
Step 5: reassemble and test
Screw the headgear back into the tap body, refit the handle and its screw, and pop the decorative cap back on. Turn the water supply back on slowly, run the tap for a moment to clear any air from the line, then check the tap fully closes without dripping.
Getting the right size washer
Washers come in a handful of standard sizes, but rather than guessing, take the old one to a plumbers' merchant or hardware shop and match it directly, or buy an assorted multi-size pack if you'd rather have spares on hand for next time.
If the valve seat itself looks pitted or damaged rather than just worn smooth, a new washer alone might not stop the drip, and a seat reseating tool or a plumber's visit may be needed instead. If the problem has progressed to the point the tap won't fully close rather than just drip, our guide on a tap that won't turn off covers that specific problem.
A tap washer kit worth a look
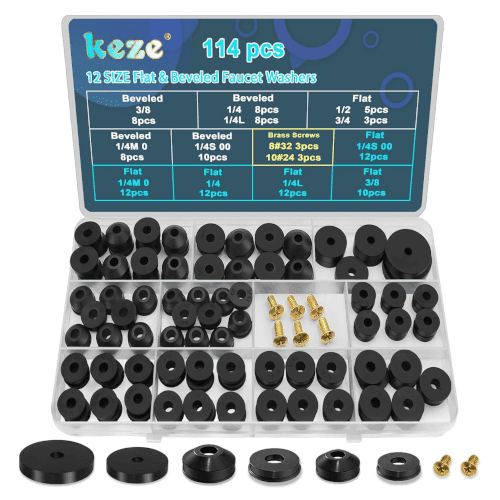
Keze Tap Washers Kit
£8.99 (correct as of October 2026)
An assorted pack of flat and bevelled tap washers from Keze, covering the common sizes used in UK taps, with brass screws included for reassembly.
We like
- Covers seven common UK washer sizes (1/4 to 3/4 inch) in one pack, useful for matching an old washer without a repeat trip to the shop
- Neoprene rubber rated for wear, oil and high temperatures rather than a basic rubber blend
- Brass screws included and each washer size is clearly marked, so you're not guessing which one fits
Worth checking
- A generic multi-brand kit rather than an exact manufacturer match, so it's worth checking the profile (flat vs bevelled) against your old washer before assuming a perfect fit
- Material
- Neoprene rubber
- Sizes included
- 1/4S, 1/4M, 1/4, 1/4L, 3/8, 1/2, 3/4 inch
- Screws
- Brass, included
- Storage
- Zip storage bag included
Specifications above listed by Amazon and may change. Check the current listing before buying. If we've got something wrong, let us know and we'll fix it.
Dealing with a seized or stubborn headgear
On an older tap that hasn't been touched in years, the headgear can seize solidly in place, particularly if there's any limescale build up around the thread. Don't force it with brute strength, since that's a reliable way to snap the tap body or round off the flats the spanner grips onto.
A few drops of releasing fluid left to soak into the thread for ten or fifteen minutes usually loosens things considerably. If it's still stubborn, try a gentle rocking motion, turning slightly one way then the other, rather than one continuous hard pull, and keep the tap body held steady with a second spanner throughout so all the force goes into the joint rather than twisting the whole tap.
If a headgear still won't budge after a reasonable effort, it's worth stopping before something snaps. At that point, replacing the whole tap is often more sensible than continuing to fight a seized fitting, and our guide on installing a tap yourself covers what that involves.
When a washer isn't a lasting fix
A washer replacement solves the immediate drip, but it's worth knowing when it's really a stopgap rather than a proper long-term repair. If you find yourself replacing the same tap's washer every few months, the valve seat itself is probably worn or pitted, and no washer, however well matched, will seal perfectly against a damaged surface for long.
At that point, a full tap replacement is simply the better use of your time and money, rather than repeating a five-minute fix every season. It's also worth factoring in the tap's overall age; a tap that's needed several washer changes over the years has likely earned its retirement anyway.
Still dripping?
If you replace the washer and the tap still drips, the issue may actually be a worn O-ring lower down rather than the washer itself, particularly if the leak is around the spout base rather than from the outlet. It's a similarly cheap and straightforward part to replace.
What this job actually costs
This is about as cheap as tap repairs get, and the figures below are correct at our last check. A single washer typically costs well under £1, and an assorted pack covering most common sizes runs to around £3 to £5 from any hardware shop. If you already own a couple of spanners and screwdrivers, the whole job costs next to nothing.
If you'd rather not do it yourself, a plumber's call-out for a straightforward washer change typically runs from around £40 to £80 depending on your area, which makes the DIY route hard to argue against unless you're not confident with a spanner.
Mistakes that turn a simple job into a bigger one
- Not turning off the water supply first. Any attempt to remove the headgear with the supply still live will make a genuine mess and can be avoided entirely by isolating the tap properly.
- Fitting the wrong size washer. Even a millimetre or two out and it won't seal fully, so match the old one exactly rather than estimating.
- Overtightening the headgear on reassembly. Firm and snug is enough; overtightening can crack older or more delicate tap bodies.
- Ignoring a pitted or damaged valve seat. A new washer won't seal properly against a damaged seat, so it's worth checking this before assuming the washer alone will fix the drip.
- Losing the grub screw or cap during the job. Keep small parts in a dish as you go rather than setting them down loose, since they're easy to lose and awkward to replace individually.
If you've replaced the washer and the drip persists, or if your tap turns out to use a ceramic disc cartridge instead, our guide on fixing a dripping tap covers both mechanisms in full.
And if the tap's old enough that parts are hard to find, our walkthrough on installing a new tap yourself is worth a read before you call anyone out, and our top 10 kitchen taps or top 10 bathroom taps page is a good place to compare replacements if a washer swap turns out not to be enough. Search WaterSafe if you'd rather leave it to an approved plumber.