The Tap Guide
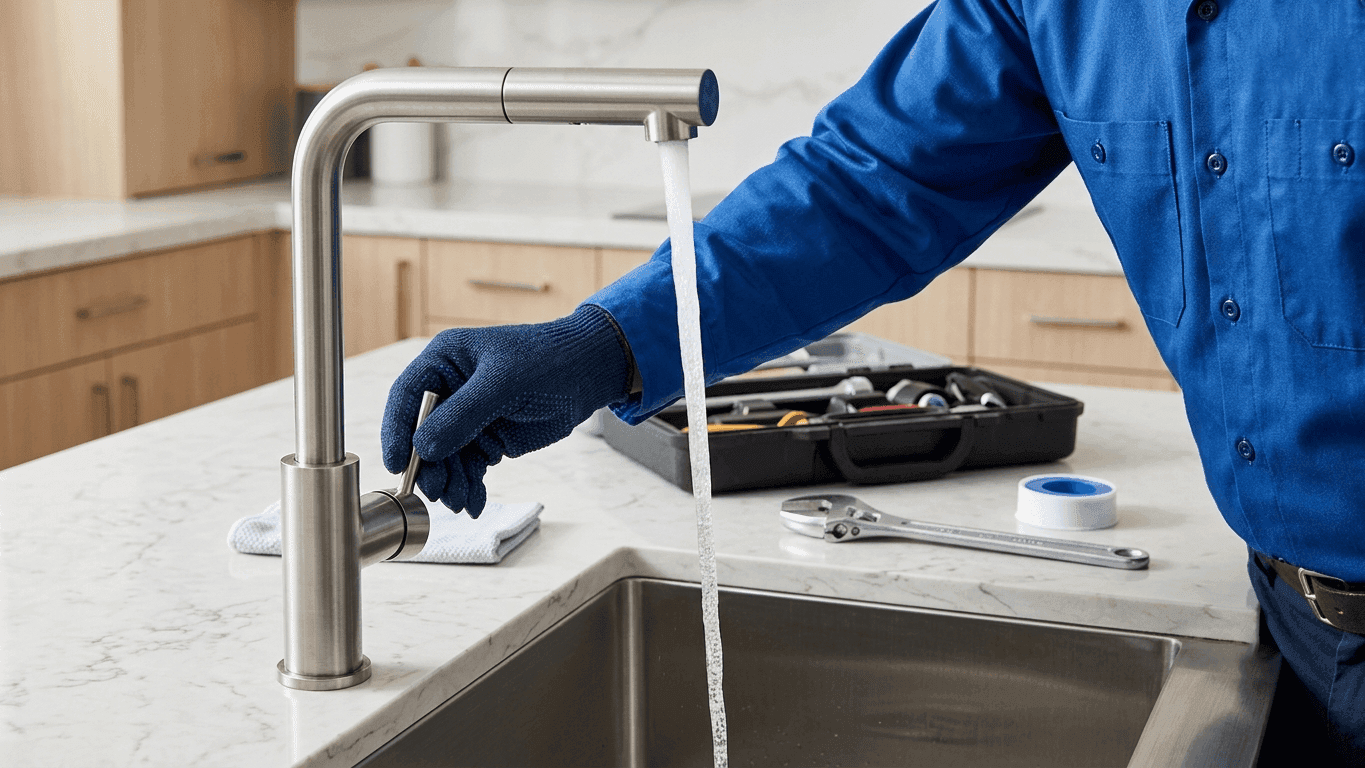
Fitting a new tap is one of the more approachable plumbing jobs for a confident DIYer, provided you take your time and don't skip the step where you actually check everything for leaks before walking away. Here's how it goes from start to finish.
This guide covers a standard deck-mounted kitchen or basin tap, the kind that sits through the sink or worktop with flexible tails running down to isolation valves underneath, which covers the vast majority of straightforward swaps. Wall-mounted taps and bath fillers use a different fitting method and aren't covered here.
If your existing pipework is old, corroded, or you're changing from a two hole tap to a monobloc (or vice versa), this job gets more involved and it's worth getting a plumber in. The steps below assume a straightforward like-for-like tap swap with existing flexible tails.
Before you start
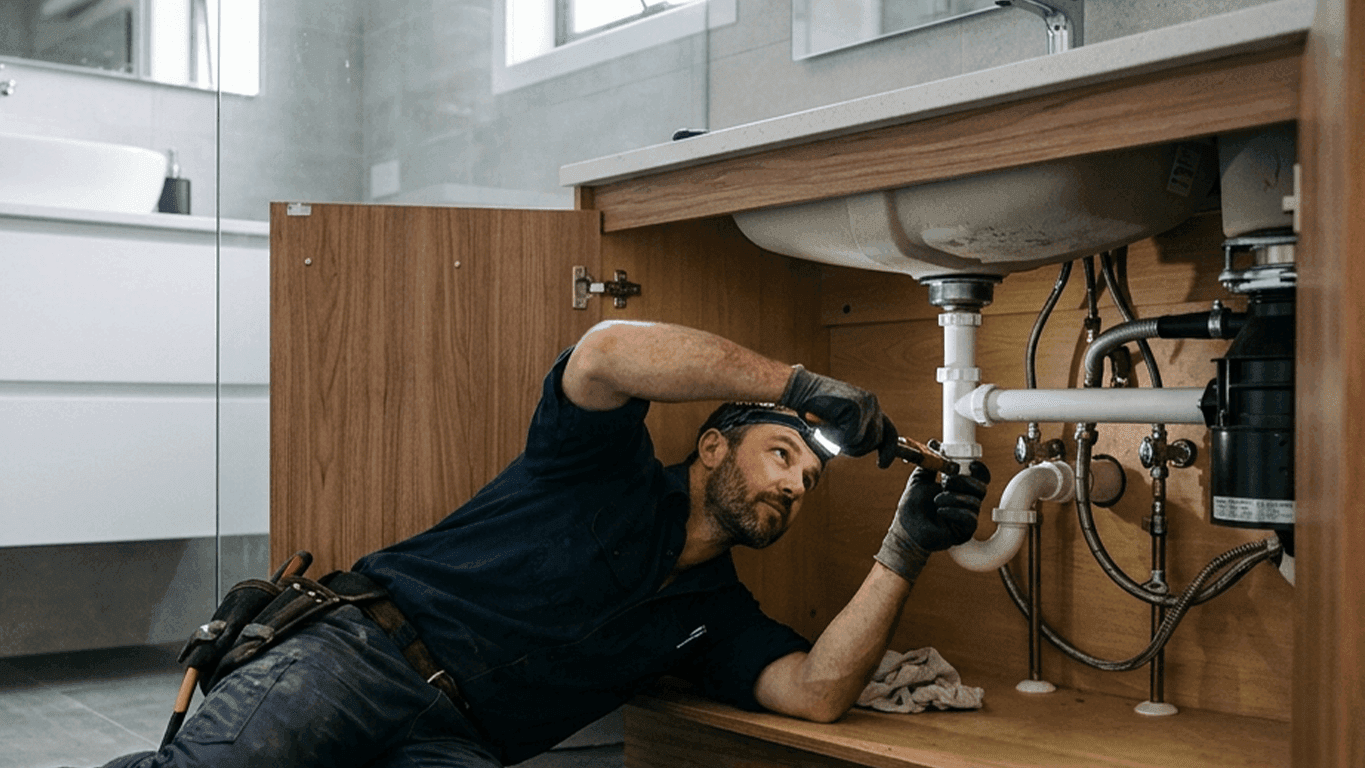
Clear out the cupboard under the sink and lay down an old towel or two, both to catch drips and to give your knees something better than a bare cabinet floor. A head torch is worth the small investment if you're doing more than one tap, since holding a torch and a spanner at the same time under a sink gets old fast.
Check your new tap's tails against what's already there before you start. Most modern taps come with flexible tails ending in a standard connection that matches UK isolation valves, but it's worth confirming the fitting genuinely matches, particularly on an imported or budget tap, rather than finding out halfway through the job. Our guide on tap connection sizes covers the different fittings you might come across.
Tools and materials you'll need
- Adjustable spanner and a basin wrench (a long, angled spanner designed for tight spaces under sinks)
- PTFE tape (thin white plumber's tape for sealing threaded joints)
- Silicone sealant, for bedding the tap base if your tap doesn't come with its own rubber sealing washer
- A bucket or old towels for the inevitable drips
- Your new tap, plus any flexible tails or fittings it requires
- A torch, since under-sink cabinets are rarely well lit
Step 1: Turn off the water supply
Find the isolation valves for the hot and cold supply, usually small quarter-turn valves on the pipes just below the sink. Turn both to the off position (the slot should sit across the pipe, not in line with it).
If your set-up doesn't have isolation valves fitted, you'll need to turn off the water at the main stopcock instead. Once off, open the tap fully to release any remaining pressure and let it drain before you continue.
Step 2: Remove the old tap
Working underneath the sink, disconnect the flexible tails from the isolation valves first, then loosen the large fixing nut holding the tap body to the sink or worktop. This is where a basin wrench proves its worth, as the nut is often in an awkward spot behind the bowl.
Once loose, the old tap should lift out from above. Clean up any old sealant or residue from the sink surface before fitting the new one.
If the fixing nut has seized solid, usually from years of limescale and corrosion, don't force it with excessive strength since you risk snapping the tap tails or damaging the sink. Penetrating oil left to soak for ten minutes, or gently warming a metal nut with a hot cloth, often frees it up. Our guide on removing an old tap covers seized nuts, stuck putty, and other awkward removals in more detail if yours is proving stubborn.
Step 3: Check everything is compatible
Dry fit the new tap's tails through the sink hole before sealing anything, just to confirm the length and fitting match up with your isolation valves. If your new tap has a different hole configuration (say you're moving from two holes to one), you'll need a blanking plate for any spare hole, available from most plumbing suppliers.
This is also the point to double check your new tap will actually work well on your home's water system. A tap that needs strong mains pressure to perform properly can disappoint on a gravity fed system with a header tank in the loft. Our guide on what flow rate you need covers matching a tap to your plumbing before you're committed to fitting it.
Step 4: Fit the new tap
Feed the tap's tails down through the sink hole from above, adding the sealing washer supplied with the tap between the tap base and the sink surface. If your tap doesn't come with a rubber sealing washer, run a thin bead of silicone sealant around the underside of the tap base instead, to stop water tracking underneath and pooling unseen on the worktop or cabinet below.
From underneath, secure the fixing nut, tightening enough to hold the tap firmly without overtightening and cracking the sink surface, particularly with composite or ceramic sinks. Wrap PTFE tape clockwise around any threaded connections before attaching the tails to the isolation valves, which helps create a watertight seal.
PTFE tape worth a look
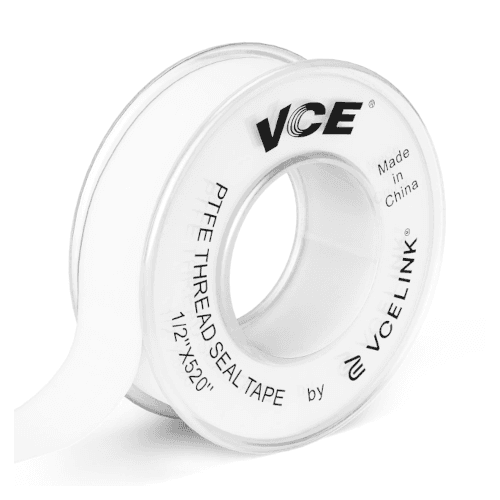
VCE PTFE Tape
£3.29 (correct as of October 2026)
A single spool of white PTFE tape from VCE, wound around threaded plumbing joints to help them seal watertight.
We like
- Doesn't fray or shred into stray threads as you wind it, and comes off cleanly if you need to redo a joint
- Rated to 150 to 200kg/cm² and -190°C to 370°C, comfortably beyond anything a domestic tap connection needs
- Snap-on cover keeps the roll from unwinding loose in a toolbox or drawer
Worth checking
- Not adhesive on its own, it's a wrap-around thread seal rather than a repair tape, so it only helps at a threaded joint, not a crack or split in a pipe
- Material
- PTFE (Polytetrafluoroethylene)
- Colour
- White
- Pack contents
- 1 spool
- Temperature range
- -190°C to 370°C
- Pressure resistance
- 150 to 200kg/cm²
- Packaging
- Resealable pouch with snap-on roll cover
Specifications above listed by Amazon and may change. Check the current listing before buying. If we've got something wrong, let us know and we'll fix it.
Step 5: Connect and test
Connect the flexible tails to the correct hot and cold isolation valves, checking you haven't swapped them, then turn the water supply back on slowly. Run the tap for a minute on both hot and cold to clear any air and debris from the new fitting, then check every joint underneath for drips, using a dry piece of tissue paper to spot the smallest leaks that aren't obviously visible. Tighten slightly if needed and recheck after a few minutes.
If you used silicone sealant around the base, leave it to cure for the time stated on the tube, usually 24 hours, before running the tap fully or letting the area get wet, so it has a proper chance to bond.
Kitchen tap vs bathroom tap: does the method differ?
The steps above apply equally to a kitchen sink tap and a bathroom basin tap, since both are usually deck-mounted with the same flexible tail and isolation valve set-up underneath. The main practical difference is space: a bathroom cabinet or pedestal is often tighter to work in than a kitchen cupboard, so a compact basin wrench earns its keep more here than anywhere else.
For a bathroom basin specifically, our guide to fitting a basin tap covers monobloc connections and the pop-up waste in more detail. If you're weighing up which tap to buy in the first place rather than how to fit it, our guides on choosing a kitchen tap and choosing a bathroom tap cover that separately.
Common mistakes worth avoiding
- Overtightening the fixing nut. This is one of the most common causes of cracked sinks, particularly composite or ceramic ones. Firm and snug is enough.
- Skipping the PTFE tape. Threaded joints without tape are far more likely to weep slowly over the following weeks, which can be harder to spot than an immediate leak.
- Swapping hot and cold. Double check which isolation valve is which before connecting, as it's an easy mistake to make and annoying to fix afterwards.
- Not bedding the tap base properly. A missing or poorly seated washer, or a skipped bead of silicone, lets water track underneath the tap and pool unseen until it eventually stains or damages the worktop.
- Forcing a seized fixing nut. Excessive force risks snapping the tap tails or cracking the sink. Penetrating oil and a bit of patience solve most seized nuts without a fight.
- Not testing thoroughly enough. A joint can look dry and still be very slowly weeping. Give it a proper check five or ten minutes after the initial test, not just immediately after turning the water back on.
When to call a plumber instead
If your pipework is old, if you're changing the type or position of the tap significantly, if you can't locate or operate your isolation valves safely, or if anything about the job feels beyond straightforward, it's worth paying for a plumber. A stuck job halfway through, with your water supply off and a family needing the kitchen or bathroom, is far more stressful than the cost of getting it done properly the first time.
WaterSafe, the UK-wide search service for approved plumbers, is a good place to find someone qualified in your area. Our guide on what fitting a tap costs breaks down typical plumber charges against the cost of doing it yourself, if you're still weighing up which route makes sense.
Not sure which tap to fit in the first place? Our guide on choosing a kitchen tap and our kitchen tap shortlist are both worth a look before you buy.