The Tap Guide

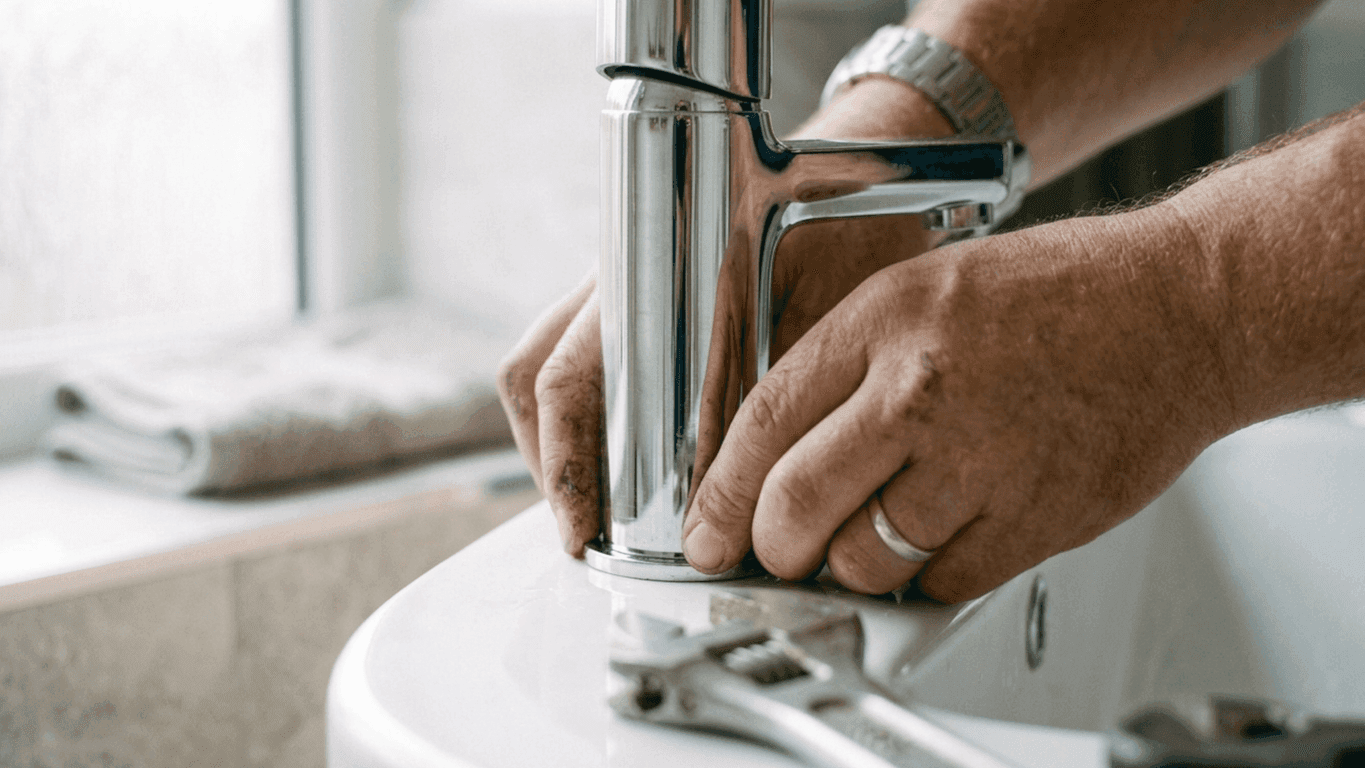
Fitting a basin tap follows the same basic steps as any tap, covered fully in our general guide to installing a tap yourself, from isolating the water supply to connecting the flexible tails. A handful of things are genuinely specific to a basin, though, and they're easy to get wrong if you've only ever fitted a kitchen tap before.
Getting these wrong is one of the more common ways to end up with a wobbly tap, a leak under the sink, or a spout that splashes straight past the bowl, so this guide focuses on what's actually different about a basin rather than repeating the whole installation from scratch. Expect it to take an hour or so once the old tap is out of the way.
Our top pick right now
Before you start
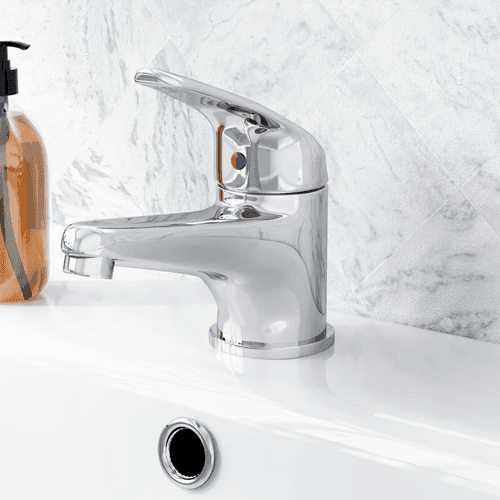
Most basin taps sold today are monobloc, meaning a single tap body sits in one hole with the hot and cold supply joined internally. If you're replacing an older basin with two separate taps and moving to a monobloc mixer, check the basin only has one usable tap hole, or that any spare holes can be capped neatly, before you buy.
Turn off the water at the isolation valves under the basin, or at the stopcock if there are none, and open the tap fully to drain any water left in the pipes before you start.
If there are no isolation valves, it's worth fitting a pair while everything's already disconnected. They're inexpensive and make any future tap change or repair far quicker, since you won't need to turn off the whole house's water again. Fitting one onto copper pipe means sweating or compression-fitting a joint, so if you're not confident doing that, it's a sensible moment to bring in a plumber rather than leave the job half finished.
Getting at the old tap
On a pedestal basin, the pedestal itself is often what makes the job awkward. Most simply lift or slide away once any fixing screw at the base is undone, which gives you far more room to reach the backnut, so it's worth taking out before you start rather than working around it.
On a vanity unit, empty the cupboard and take out any shelf or drawer that gets in the way. If the old tap's backnut is corroded solid, our guide on removing an old or seized tap covers the tricks that shift it without damaging the basin.
Tools you'll need
- Adjustable spanner or basin wrench, for reaching the backnut in the tight space underneath the basin.
- A torch. The space under most basins is poorly lit, and you'll want to see what you're tightening.
- An old towel or a shallow bowl, to catch the water still sitting in the pipework when you disconnect the old tails.
- PTFE tape, for the connector threads if they don't already have a rubber washer fitted.
- The new tap's own fitting kit, backnut, tails and washer, which usually comes included in the box.
Flexible tap connectors
Basin taps almost always come with flexible tap connectors, sometimes called flexi tails, rather than rigid pipework, which makes lining up the hot and cold supply far easier in the tight space under a basin. Screw these onto the tap's own tails hand-tight before lowering the tap into its hole, since it's much easier to do above the basin than reaching underneath afterward.
Don't overtighten the connectors at the wall or isolation valve end. Hand-tight plus a quarter turn with a spanner is usually enough, and overtightening is a common cause of a cracked olive or a leak that only appears once the water's back on.
Fitting the tap and securing it
Feed the tails through the basin's tap hole, add any washer supplied, then secure the tap from underneath with the backnut provided, usually tightened by hand or with a basin wrench in the tight space beneath the bowl. Our guide on removing an old tap covers using a basin wrench in this awkward spot if you haven't used one before.
Check the tap sits straight and square to the basin before fully tightening the backnut, since it's much harder to correct once it's snugged down.
Most monobloc kits include a metal stabiliser plate, a horseshoe or crescent shaped bracket that sits between the underside of the basin and the backnut. Don't leave it out. It spreads the load across the ceramic, and without it the tap is far more likely to work loose and start rocking after a few weeks of use.
Countertop and vanity basins
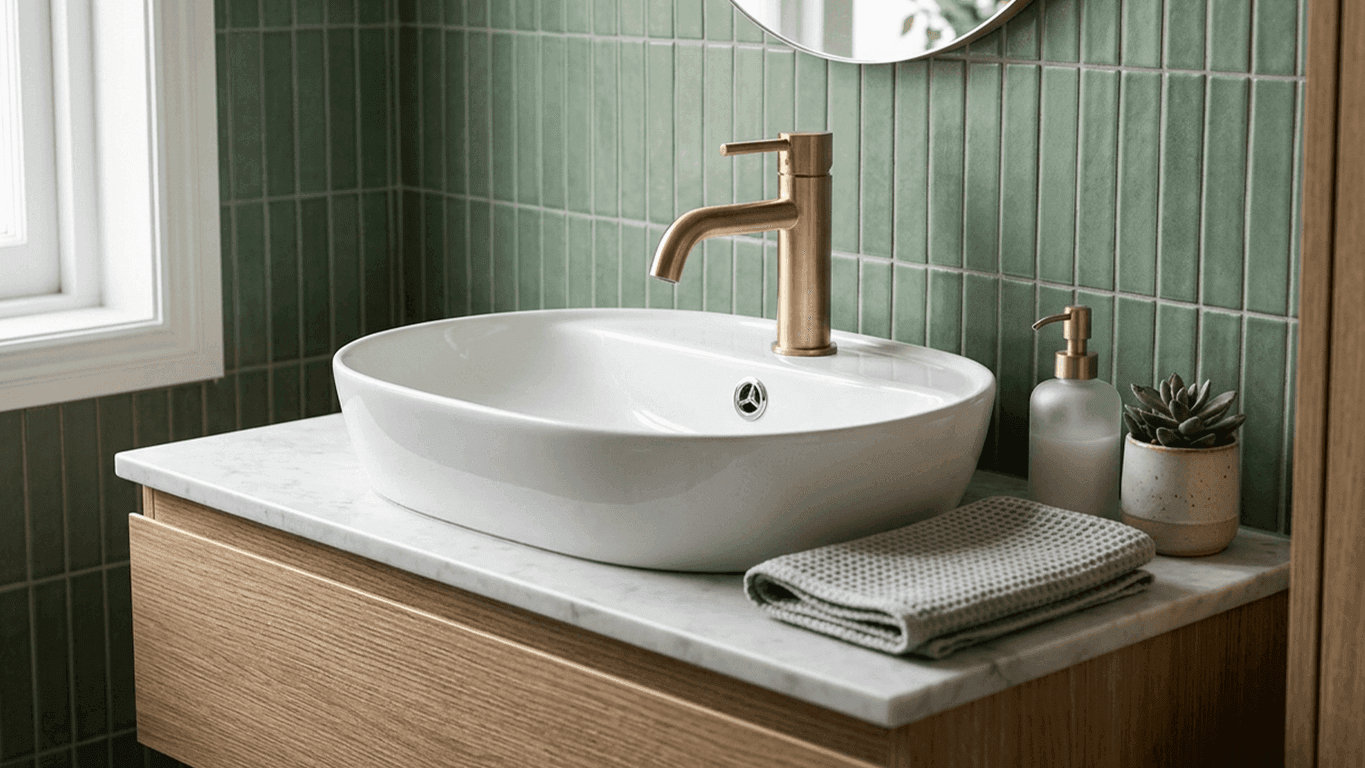
A countertop or vessel basin that sits on top of the worktop changes the job slightly. The tap either mounts through the basin itself, in which case it needs a tall spout to clear the rim, or through the worktop behind the basin, which means drilling a hole of the right size in the worktop and using a tap with an extended fixing stud if the worktop is thick. Check the tap's maximum mounting thickness before you drill anything.
Connecting the waste
If you're also replacing the waste and pop-up plug mechanism, fit this before connecting the tap's water supply, since it's easier to access with the tap tails out of the way. Make sure the pop-up linkage moves freely and the plug seats properly before reassembling everything underneath.
Match the waste to the basin before you buy one. If the basin has an overflow hole near the rim, it needs a slotted waste, with the slots lined up with the overflow channel so the water can escape. A basin without an overflow needs an unslotted waste, since slots would just let water leak out of the waste body.
Seal the waste to the basin with the washers supplied, or a thin bead of sanitary silicone if the instructions call for it, and tighten the backnut firmly without cranking it hard against the ceramic.
Testing for leaks
Turn the water back on slowly at the isolation valves and check every connection, the tap tails, the waste, and the trap, for drips before considering the job finished. Run the tap on hot and cold for a minute or two and check again, since a small leak sometimes only shows up once water's been running for a while.
Before running the new tap properly, unscrew the aerator on the end of the spout and run the water for a few seconds. Disturbing old pipework often loosens bits of scale or debris, and it's far better to flush that straight through than let it clog the new aerator on day one.
Common problems after fitting
- The tap wobbles. The backnut isn't tight enough, or the stabiliser plate was left out. Isolate the water, then tighten from underneath while someone holds the tap straight from above.
- Drips from a connector. Undo it, check the rubber washer inside is seated flat and not pinched, then refit it. Tightening harder is rarely the answer and can split the washer.
- Weak flow on one side. Check both isolation valves are fully open, with the slot in line with the pipe, then check the aerator for debris.
- Water pooling around the base. Usually the washer or O-ring between the tap and the basin isn't sitting evenly. Loosen the backnut, reseat it, and tighten again.
Worth knowing: a basin tap sits much closer to the bowl than a kitchen tap, so double-check the spout height clears the basin properly with the tap fully seated, not just held loosely in place, before you tighten anything down for good. Our guide to tap dimensions covers spout height and reach in more detail.
If you're still deciding which tap to buy rather than fitting one you already have, our top 10 bathroom taps page and our guide to basin taps for a small space are good places to start.