The Tap Guide
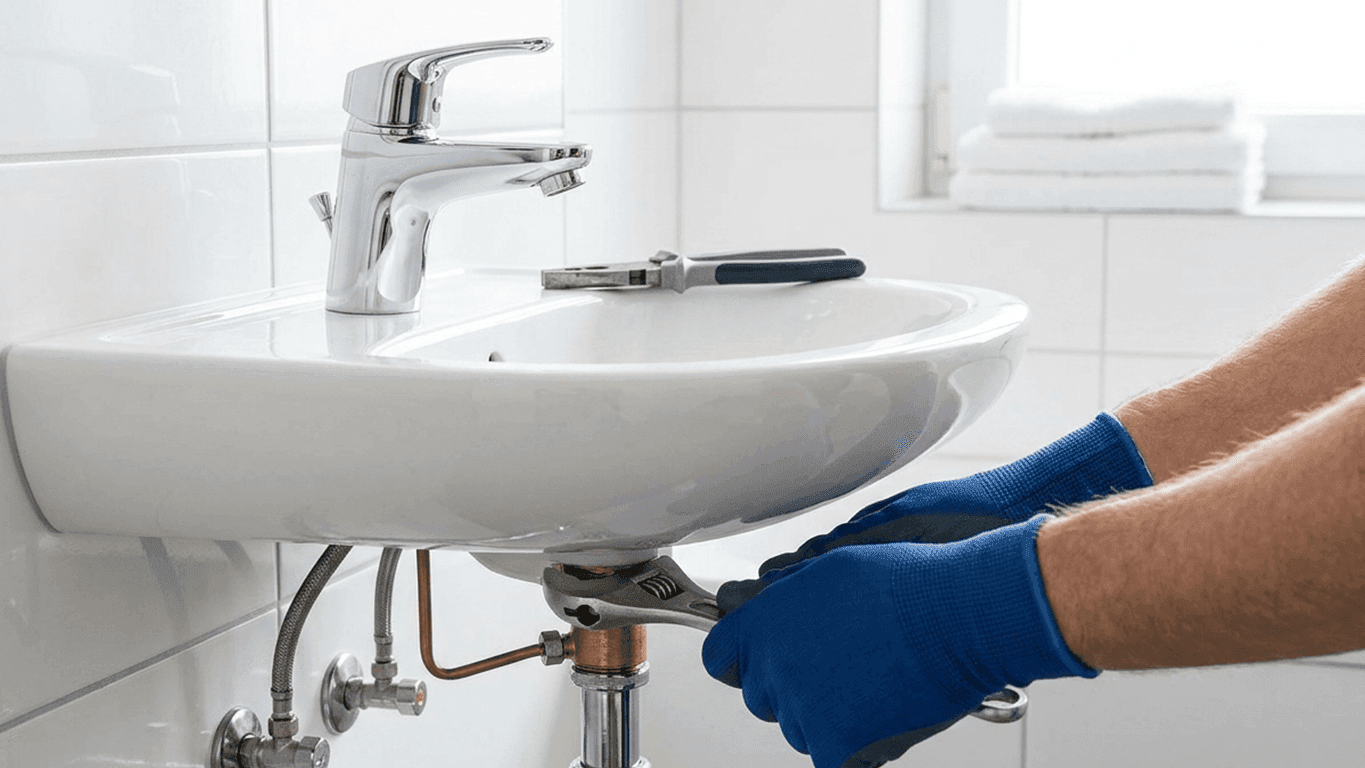
Before any new tap goes anywhere near your sink or bath, the old one has to come out, and that's very often the harder half of the whole job. Fitting a new tap is usually straightforward once you're set up, we cover that properly in our guide to how to install a tap.
Old taps, though, especially ones that have sat under a sink for ten or fifteen years, come out however they feel like coming out. That usually means a seized fixing nut, a stiff isolation valve that hasn't turned in years, and a ring of old plumber's putty that's gone rock hard around the base. Here's how to work through it without doing any damage, and without losing your afternoon to a nut that won't shift.
Turn off the water before you touch anything
This sounds obvious, but it's the step people rush, and it's the one that turns a tidy job into a flooded kitchen. Look under the sink or basin for two small isolation valves on the pipes feeding the tap, one for hot and one for cold. Turn each a quarter turn with a flat screwdriver until the slot sits across the pipe rather than in line with it.
If your setup doesn't have isolation valves, and plenty of older homes don't, you'll need to turn off the water at the stopcock instead, usually found under the kitchen sink or near where the mains enters the house.
Once you've turned the valves off, open the tap fully to release any pressure and let it run until it stops. Don't skip this bit. A tap that seems to have stopped can still hold a surprising amount of water in the pipe, and it'll find its way onto your knees the moment you loosen a fitting. If you're at all unsure whether the water is properly isolated, it's worth reading through the WRAS guidance on domestic plumbing work, or simply calling a plumber if the stopcock itself looks dodgy.
Tools you'll actually need
A basin wrench (sometimes called a basin spanner) is the one tool that makes this job possible rather than miserable. It's a long, thin tool with a swivelling jaw designed to reach up into the tight gap behind a sink where an ordinary spanner simply won't fit. You can pick one up for under £15 from most hardware shops, and if you own more than one tap in your lifetime, it earns its keep.
Beyond that, you'll want an adjustable spanner, a bucket and some old towels, a torch or head torch (the space under a sink is never as well lit as you'd like), penetrating oil, and a flat head screwdriver for the isolation valves. A headtorch in particular is underrated. Trying to hold a torch, a spanner and a bucket at the same time while lying on your back is nobody's idea of a good afternoon.
A basin wrench worth a look
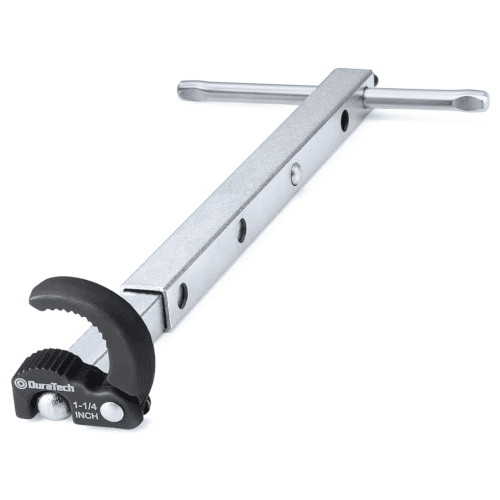
Duratech Telescopic Basin Wrench
£16.99 (correct as of October 2026)
A telescopic basin wrench from Duratech, built to reach the awkward retaining nuts under a basin or sink that a standard spanner can't get near.
We like
- Telescopic shaft locks at four lengths from 250mm to 430mm, so it reaches nuts however deep they sit
- Spring-loaded auto-adjusting jaw grips one-handed, useful when your other hand is holding the tap or a torch
- 180° pivoting head holds its angle to get square onto awkward, off-angle nuts
Worth checking
- Jaw capacity is 10mm to 32mm (3/8" to 1-1/4"), so it's worth checking that range covers your tap's fixing nuts before buying
- Jaw capacity
- 10mm to 32mm (3/8" to 1-1/4")
- Shaft length
- 250mm to 430mm, 4 locking positions
- Head
- 180° pivoting, spring-loaded auto-adjusting jaw
- Material
- Carbon steel head, A3 steel telescopic shaft, chrome plated
- Item length
- 43cm
- Colour
- Silver
Specifications above listed by Amazon and may change. Check the current listing before buying. If we've got something wrong, let us know and we'll fix it.
Step by step: taking the old tap out
- Isolate and drain the water as above, then place a bucket and towels underneath the pipework to catch drips.
- Disconnect the flexible tap connectors where they meet the isolation valves or supply pipes, using an adjustable spanner. Expect a small amount of residual water to escape even after draining, so keep the bucket handy.
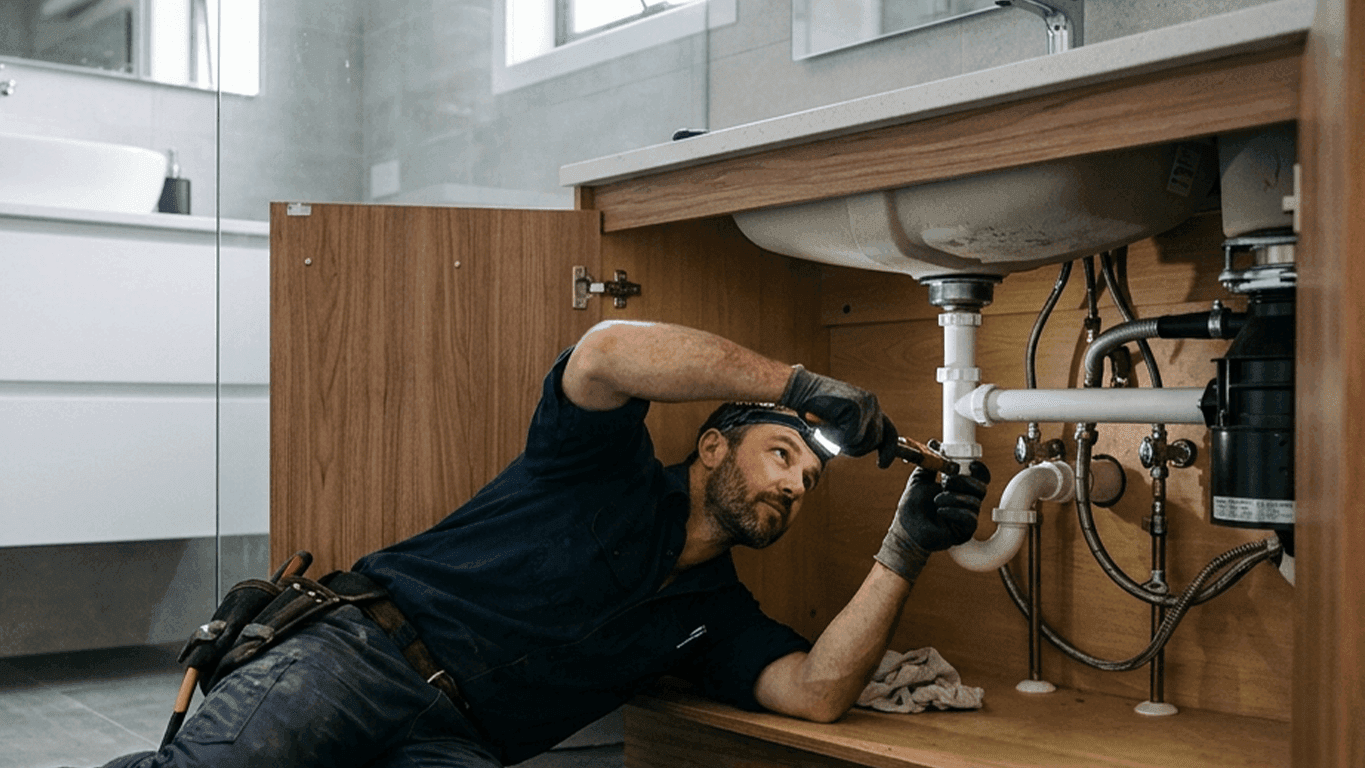
- Locate the fixing nut that holds the tap tail against the underside of the sink or worktop. This is usually a large plastic or brass nut, and it's here that the basin wrench comes into its own, since there's rarely enough clearance for a standard spanner.
- Loosen and remove the fixing nut, supporting the tap from above with your other hand so it doesn't drop or twist once the nut comes free.
- Lift the tap away from the top, then clean off any old sealant or putty from the sink surface before you fit the replacement.
When the fixing nut won't move
This is the single most common sticking point, and it's usually down to years of limescale, corrosion, or the nut simply being overtightened when the tap first went in. Don't force it straight away, because rounding off the nut or cracking a plastic sink makes everything harder.
Instead, spray the nut and thread generously with a penetrating oil such as WD-40 or Plus Gas, then leave it for ten to fifteen minutes to work its way into the threads. Tap the nut gently with the handle of a spanner or a small hammer to help vibration loosen the corrosion, then try again with steady, even pressure rather than a sharp yank.
If it still won't shift, a second application of oil and a bit more patience usually gets there. Some people find gentle heat from a hot air gun helps expand the metal enough to break the corrosion's grip, though this needs care around plastic sinks and any nearby pipework. What you're aiming for is steady, controlled force, not brute strength, because a slipped spanner in a cramped space under a sink is how knuckles get cut and pipes get bent.
Watch out
Plastic fixing nuts, common on cheaper taps, can crack if you overtighten a spanner onto them or apply force unevenly. If yours feels brittle rather than just stiff, work even more slowly and consider replacing that nut entirely when you fit the new tap.
Old putty, sealant and mineral deposits
Once the tap is off, you'll almost always find a ring of old plumber's putty, silicone sealant, or just a crust of hardened limescale where the tap base sat against the sink. This needs to come off properly, not just be papered over with fresh sealant, because a new tap sitting on old, uneven putty can rock slightly and eventually let water seep underneath.
A plastic scraper or an old chisel works well for putty, and a plastic-safe cleaner or a paste of bicarbonate of soda and water helps shift limescale without scratching stainless steel or ceramic. Avoid metal scourers on anything other than solid stainless steel, since they'll scratch enamel, composite and coated surfaces almost instantly.
Give the whole area a proper clean and let it dry fully before fitting anything new. If you're switching to a different tap style, say moving from a two hole setup to a single monobloc tap, this is also the point to plan for a blanking plate over any spare holes, and to check the new tap's flow rate suits your household, which we go into in our guide on what flow rate you need.
If the tap still won't budge
Sometimes, despite oil, patience and a good basin wrench, a tap simply refuses to move. This tends to happen with taps that are decades old, where the tail has essentially fused to the nut through corrosion.
At that point, the most practical option is often to cut the tap tails just above the nut using a junior hacksaw, which frees the nut from the fixing without needing to turn it at all. This does mean the tap itself is written off, but if it's coming out anyway, that's rarely a loss. Just take care not to nick any surrounding pipework while you cut.
If cutting isn't practical, for instance because access is too tight to get a saw blade in, that's a fair point to call in a plumber rather than risk damaging the sink, the worktop, or yourself. A stuck tap that's fought you for an hour isn't a failure, some just aren't designed to ever come apart easily, and a professional will have tools and leverage tricks that aren't worth buying for a one-off job.
Where this job commonly goes wrong
- Skipping the water isolation check. Assuming the valves are fully off without testing the tap afterwards is how people end up with an unexpected shower under the sink.
- Forcing the fixing nut without oil. Going straight in with a spanner and brute strength on a seized nut is the fastest way to round it off or crack the sink.
- Not supporting the tap while removing the nut. Once the nut comes free, an unsupported tap can drop straight down and chip the sink or scratch the worktop.
- Leaving old putty or sealant in place. Fitting a new tap onto old, uneven residue is one of the main causes of a wobbly base or a slow leak months down the line.
- Using a standard spanner in a tight space. Without a basin wrench, most people simply can't get proper leverage on the nut, which leads to slipping, grazed knuckles, and a lot of frustration.
- Not having a bucket and towels ready. Even a well isolated system holds some residual water in the pipe, and it always seems to land exactly where you're kneeling.
Cost: doing it yourself vs calling a plumber
Removing an old tap yourself costs very little if you already have basic tools. A basin wrench is around £10 to £15, penetrating oil a few pounds, and everything else you likely already own (figures correct at our last check, though they'll drift over time).
Against that, a plumber typically charges a call out fee plus an hourly rate, and a straightforward tap swap including removal is often quoted as a fixed job rather than by the hour, commonly somewhere in the £80 to £180 range depending on your area and whether anything unexpected turns up underneath.
Where it tips towards calling someone in is when the isolation valves themselves are seized or leaking, when the pipework underneath looks old, corroded copper that you're not confident handling, or when you've tried everything above and the tap still won't move without more force than feels sensible. It's also worth calling a plumber if your water supply doesn't have isolation valves at all and relies on the stopcock, since working blind on the mains supply is a bigger risk than most DIY tap jobs.
You can find a qualified, insured plumber near you through WaterSafe if you'd rather not take the chance.
Once the old tap is out
With the tap off, the sink cleaned up and the old sealant removed, you're in good shape to fit the replacement.
If you haven't chosen a new tap yet, it's worth having a proper look at the differences between mixer and separate taps in our bathroom tap buying guide before you commit, since it affects how many holes you'll need and how the plumbing connects underneath.
And when you're ready to fit the new one, our guide to installing a tap walks through the whole process from here, including getting the seal right the first time so you're not back under the sink again next month. Our kitchen tap shortlist is a good place to start comparing replacements.